Showing posts with label environment painting. Show all posts

Tuesday, January 27, 2015

Faintest Glow


Title: Faintest Glow
Date: January 26, 2015
Medium: Photoshop CS6
Scale: Original is 16.3" x 21.75"

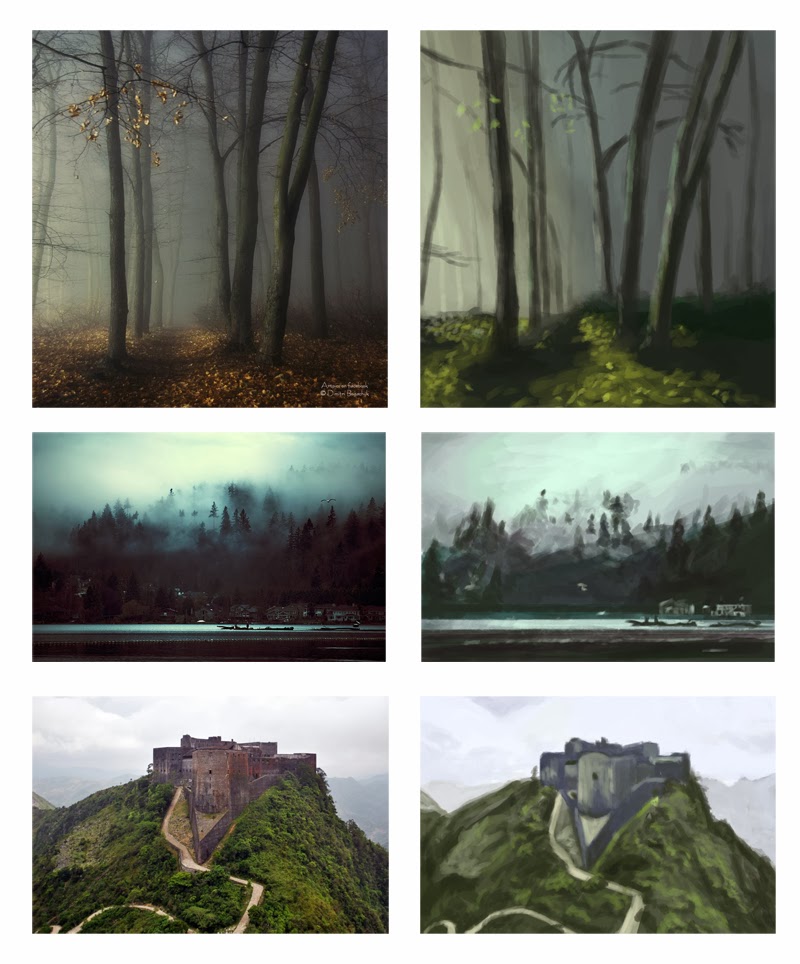
Notes: While walking out of Zoodles some time ago, I just so happened to pick a good moment of the sky. I tend to have a strange obsession with clouds and it only enhances when I see good color contrast and combinations. I thought it would be fun to finally try and make a go of some environment painting. I really need to start branching out of my comfort zones of just painting portraits all day. Hopefully some good 'ole life painting will help with that.
Hope you enjoy, more soon!

Friday, April 25, 2014

3D Illustration: Gears


Title: 3D Illusttration: Gears
Medium: Mixed Media

Notes: For the final 3D illustration project we were allowed to work in teams and had to create more-or-less a scene and storyboard.

I looked to my right immediately and there was instantly like a silent agreement between Colton, Rob, and I. So off we went, just throwing around suggestions and different ideas. I think somewhere in there I was like, "Let's do a self-portrait of ourselves as adventurers trying to break into a dungeon." <we all shook our head pretty quickly to that> So we kept scribbling and searching for ideas, and I just kinda toss out this idea of, "Hey... what if we were to do robots. DRUNK ROBOTS!" <again, we all shook our head and kind of had a laugh> There was a silence over us for a few minutes. I think there was a certain hive mind brewing for a minute about this. And then I think it was Rob that looked over and was just like, "Well... what if we did Wall-E as a wanted poster.", to which I responded, "Yeah, he would be wanted for Grand Theft because he's constantly putting shit in that little drawer of his!" <laughter ensues> And literally from that moment, the project's scope just grew and grew. Looking back, I wonder if this project is a testament to see just how far and ridiculous we can go with a project.

Regardless, it was incredibly fun! I also think that after the fact, Rob looked at us and was like... I think I want to make an entire city of this stuff! Potential for future team-projects? We shall see...

So here's the breakdown of who did what:

Mat Kaminski - passed out drunkard robot,  bar stools, and all the advertisements and posters on the wall.
Colton Beretta - the bartender and all the accessories to the bar - cups, bottles, mugs.
Rob McElhaney - "wrestler bot", and the bar itself, and gears logo.


Tuesday, January 21, 2014

Applied Studies


Title: Applied Studies
Date: January 19 & 20, 2013
Medium: Photoshop CS3

Notes: So... I was attempting something new: a master painting, and then immediately afterwards I would jump in and try to paint one using the techniques I just learned.
The portrait on the left is a Sorolla.
Using the strokes and brush work from the left, I tried jumping in and painting a portrait that was in a similar vein using the same brushes and strokes that I just used. This of course proved harder than expected. I think I will try more of this soon (as you can see from the half-started piece on the bottom left).

Environment Speeds


Title: Environment Speeds
Date: January 20, 2013
Medium: Photoshop CS3

Notes: Studying environments to +1 on them. Actually got this idea entirely from Lee Parks here. His are quite a bit better, but then I can honestly say that he studies environments far more than I do. Something that I should try and play catch-up on sometime soon.
It might not only help my characters from just floating in a space, but will most likely help my colors get closer to a more realistic palette instead of being quite off.

Here's Pinky, where's the Brain?


Title: Here's Pinky, where's the Brain?
Date: January 19, 2013
Medium: Photoshop CS3
Scale: Original is 1200px x 2000px

Notes: Yet again, more of those photostudies while listening to my madam read books. She's already on the third book of The Strain, and I highly recommend that people read it. It's AWESOME! :)

Edit: BONUS TUTORIAL!


  • Step 1: Render Background some, this will help you to define your 'character space'.
  • Step 2: Sketch out the character in it's entirety (or at least what you plan to paint in later.
  • Step 3: Wash layer. Basically throw a quick wash over what your want the basic backdrop colors to be.
  • Step 4 & 5: Render, render, and more rendering.
  • Step 6: Because I was a little unsure of all the crazy jewelry and add-on stuff this girl had, I made a new layer and just popped it up there.


As always, any questions, ask 'em in the comments!


Anatomy (from Imagination)


Title: Anatomy (from Imagination)
Medium: Pencil

Notes: So, from the last time you saw some pencils, I have tried that mouth technique using no reference at all and have discovered that I can draw a mouth in pretty much any way using that technique. So I tried continuing on with the full head and even some body, and discovered that I need to go back to the drawing board even more before I can just spit these things out from imagination. More studies of shape design for sure.

Follow Mat @artofmatk

Follow Ash @ashley.storyteller